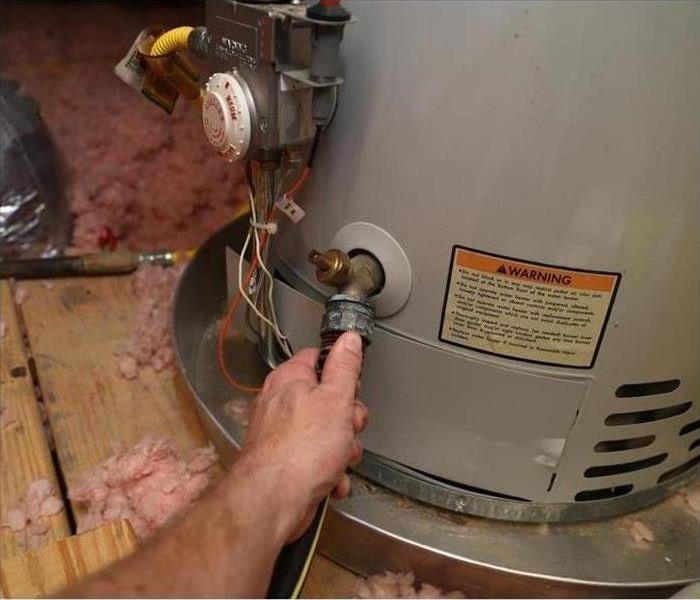
Flush a Water Heater in 4 Easy Steps
5/10/2022 (Permalink)
How To Flush A Water Heater in 4 Simple Steps
Water Heater maintenance is fairly simple, but it can go a long way toward preserving the integrity of your device and extending the life of it. One thing that you can do to prevent costly repairs and damage is to flush it regularly. If you have never performed a water heater flush before and want to know how, this post can serve as your guide. Before you begin, you will need the following:
- A standard garden hose
- A screwdriver
- An outside area to which you can divert water
- Protective gear
Once you have the necessary tools, it’s time to get to work.
1. Turn Off the Device
Before you can begin working on your water heater, you need to turn it off. For a gas heater, extinguish the pilot. For an electrical one, pop the breaker that powers the heater.
2. Connect the Hose and Prep the Area
Once your heater is off, prep the drainage area and connect the hose to the drain valve. Be sure to wear protective gear while you work to prevent burning and bacteria contamination.
3. Start Draining
Once the area is prepped and the hose is attached, it’s time to start draining. Open the drain valve and allow the water to stream for several minutes. You can help the water drain faster by opening the kitchen sink’s hot water valve. Wait a few minutes, and then turn it off. Wait until the flow of water from the hose has turned into a trickle, then go inside, turn on the hot water faucet once more and let the remainder of the water flush.
4. Close Off the Valves and Restore Power
Once the tank is completely empty, disconnect the hose and close the valves. Turn on your kitchen faucet and leave it on until the flow of water has returned to normal. Once you’ve confirmed that the tank is full, restore power to the heater.
By routinely flushing the water heater in your San Antonio, TX, home, you can extend the life of your heater by years. Follow the steps above for guidance.

 24/7 Emergency Service
